8 Steps to get started with Feedback Studio
Welcome to Feedback Studio! Our platform provides a selection of tools designed to support you in collecting, prioritizing, and sharing feedback efficiently. To get started, we suggest following these 8 steps to learn more about our platform.
1. Add categories
Categories are important to help make sense of your feedback - they allow you to separate core parts of your product that people give feedback on.
In the right-hand navigation, click Feedback and then "Add New Category." Enter your category name. We're choosing a relatively generic one - Customer Portal.
Add more categories for different areas you get feedback on.
Once they're added, you can click on to the name of the category to see feedback filtered by that category. The number next to them shows the total number of feedback in each category.

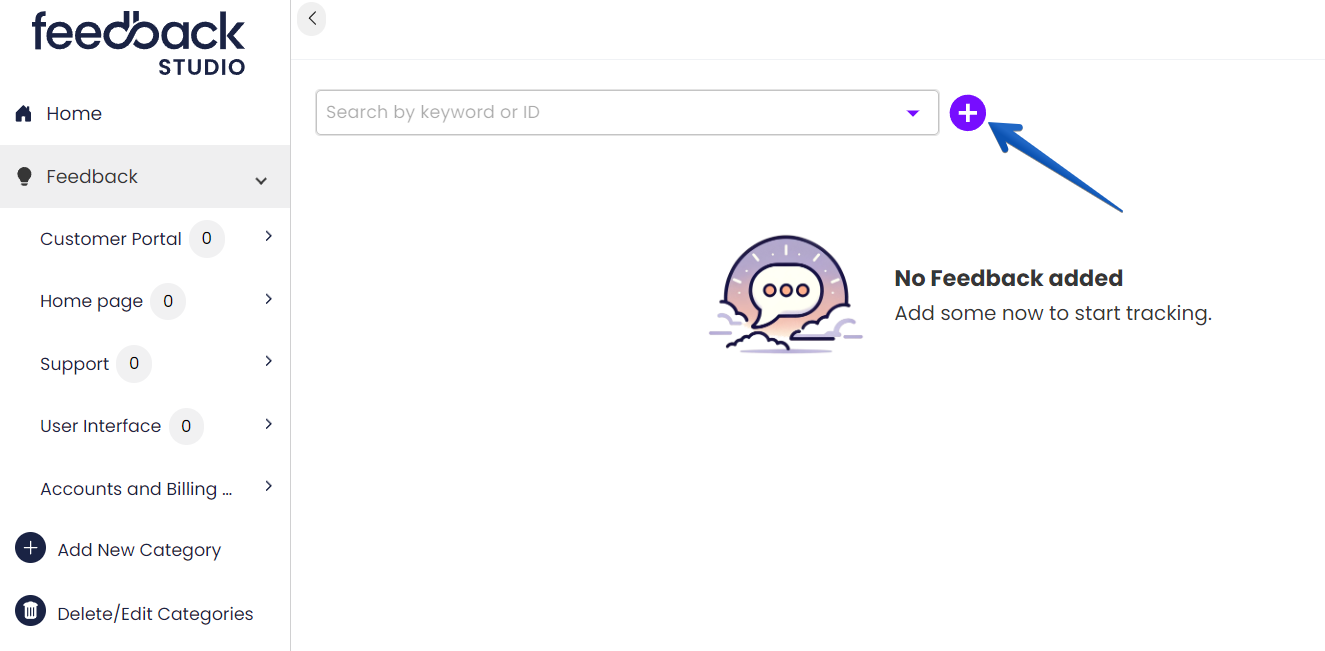
2. Add your first feedback
From the Feedback page, click the plus button.
Add a short, concise title that describes the problem, or proposed solution.
Optionally (but recommended), add a category and more information in the text box description. Then click "Add Feedback."
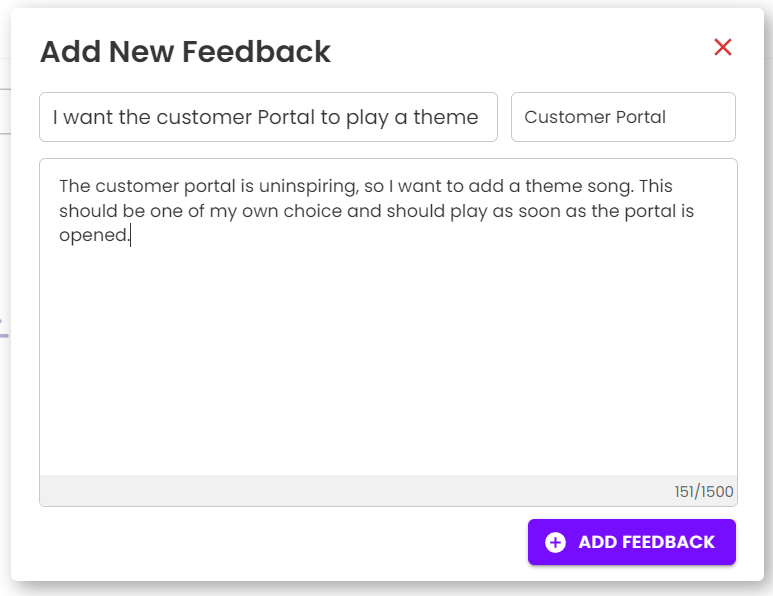
That's it! Your new feedback will now pop up for you to view and edit. There are a lot of different things you can do here - check that out in our Feedback Overview doc.
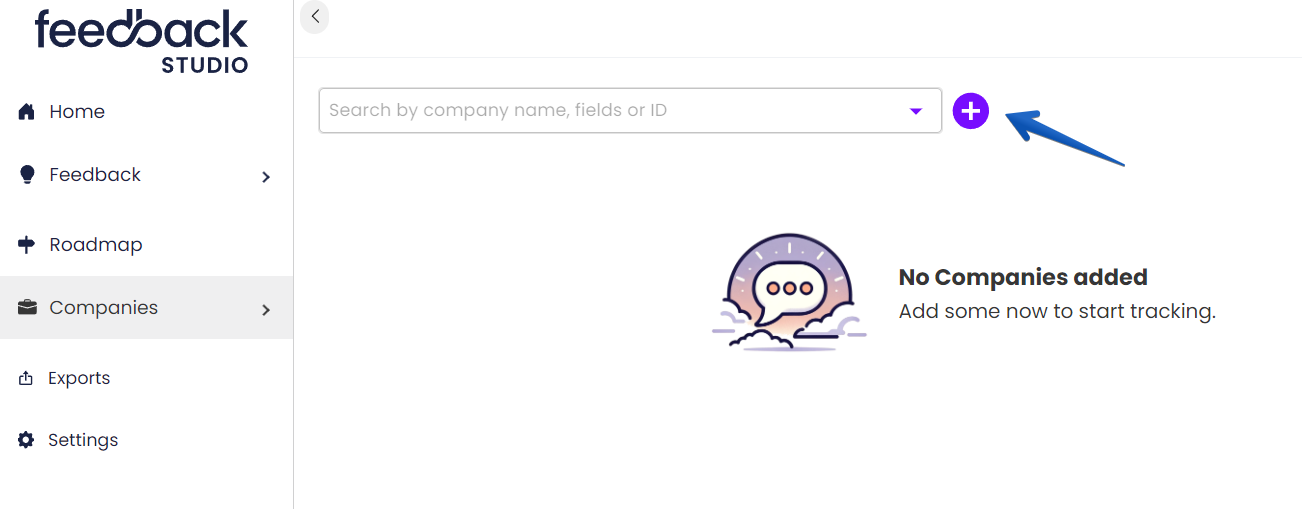
3. Add your first company
Now you're set to start tracking feedback, but you need to know who wants this feedback.
Feedback is linked to companies, so we want to add some companies. To do that, click the Companies tab, and like with feedback, click the plus button to add a new company.
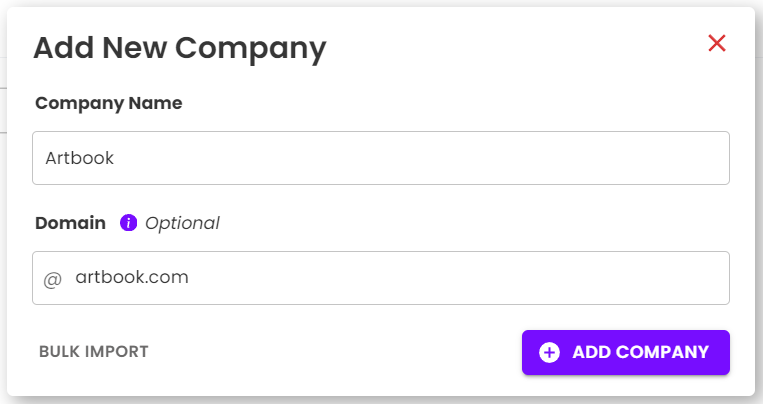
Fill out some basic information:
- Company name
- Domain (optional but recommended)
Then click Add Company.
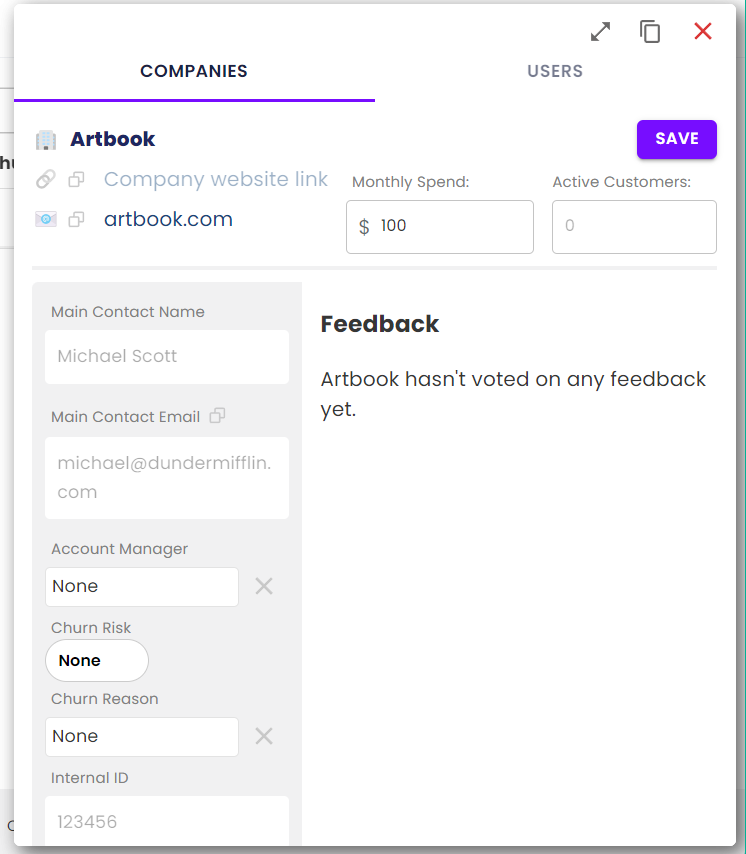
You'll now see the company modal with your newly added company. Feel free to add more information, such as the monthly spend - this will aggregate with other votes on feedback.
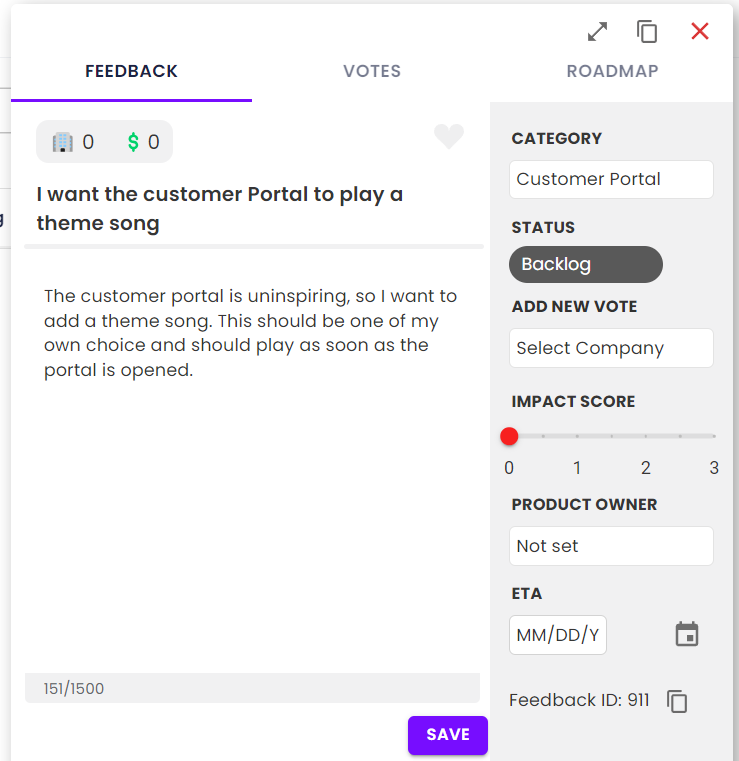
4. Add your first vote
Now you're ready to start collecting data! Go back to the Feedback page and click on to the feedback we created earlier.
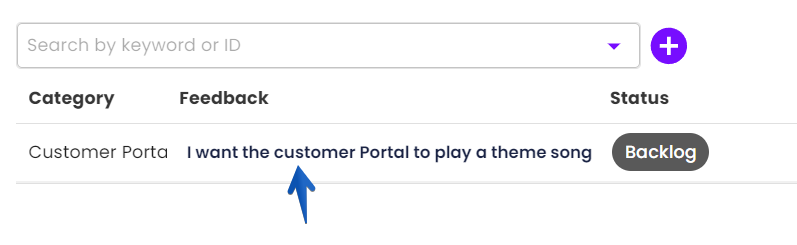
Add a vote in the side bar, by searching for the company, adding an impact level and (optionally) adding a user story.
Once that's been added, you'll see the vote count has gone up on the feedback. If you added the monthly spend on the company, the MRR now has a value as well.
Both will continue to aggregate as you add more companies.

5. Create your roadmap
We recommend checking out our External Roadmap doc for more detail here - but let's go through the basics.
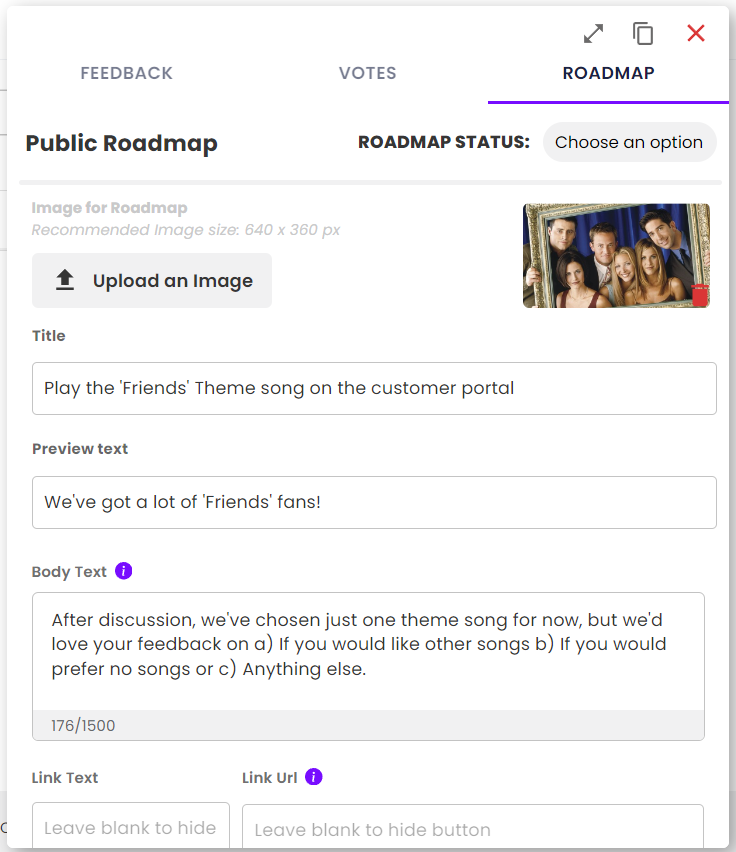
Click the "Roadmap" tab on the relevant Feedback.

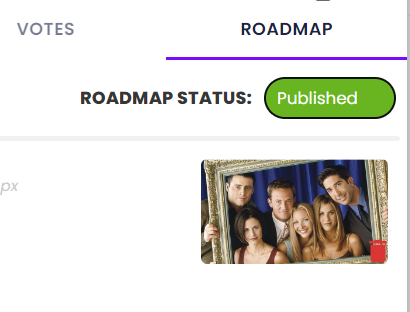
Fill out the fields and upload a roadmap image.
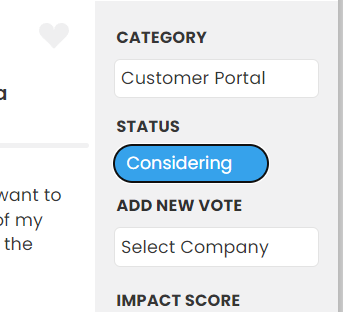
Save that, then decide on the status for the feedback. This is done in the Info tab. We're marking this as "Considering," so it will go in the "Under Consideration" tab.
Now go back to the Roadmap tab and mark it as Published.
Now let's check out the roadmap! Click Roadmap from the navigation to see the internal view. To generate a public url, click the "Generate Roadmap Url" button.
View the roadmap, and share it with your users!

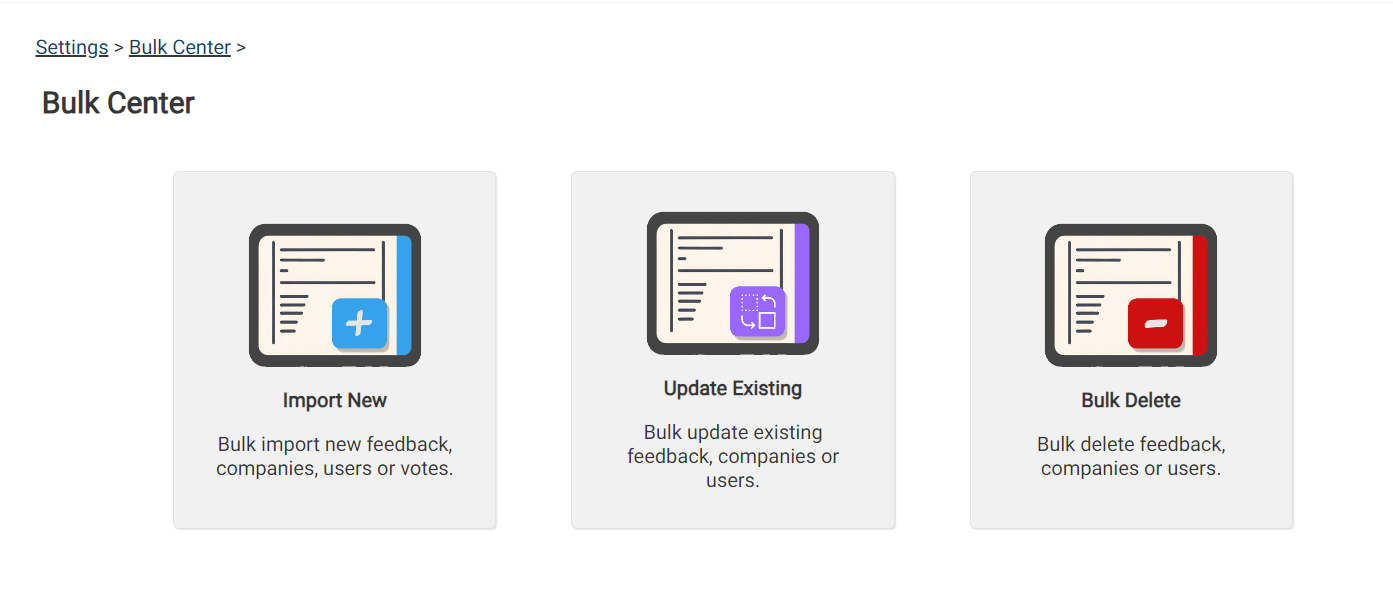
6. Check out the Bulk Center
Are you migrating from another platform, or have an existing list of feedback?
You'll find it a lot easier to bulk import, rather than add them one at a time. Our bulk center allows this, as well as many other functions.
➡️ You can Bulk Import feedback, companies, users and votes.
➡️ You can Bulk Update feedback, companies, and users.
➡️ You can Bulk Delete feedback, companies, and users.
You can access the Bulk Center from Settings.
7. Invite your team
Now you've got the hang of things, it's time to invite your team to collaborate!
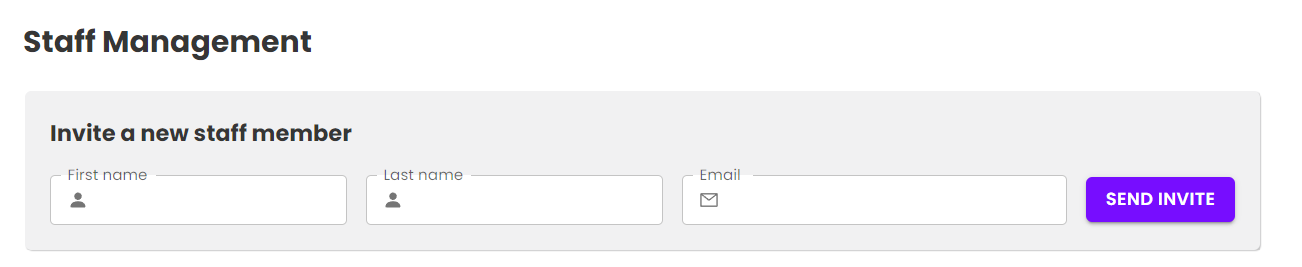
Select Settings from the left-hand navigation, and then click Staff Management.
Here you can invite a new staff member - they'll get an email to join.
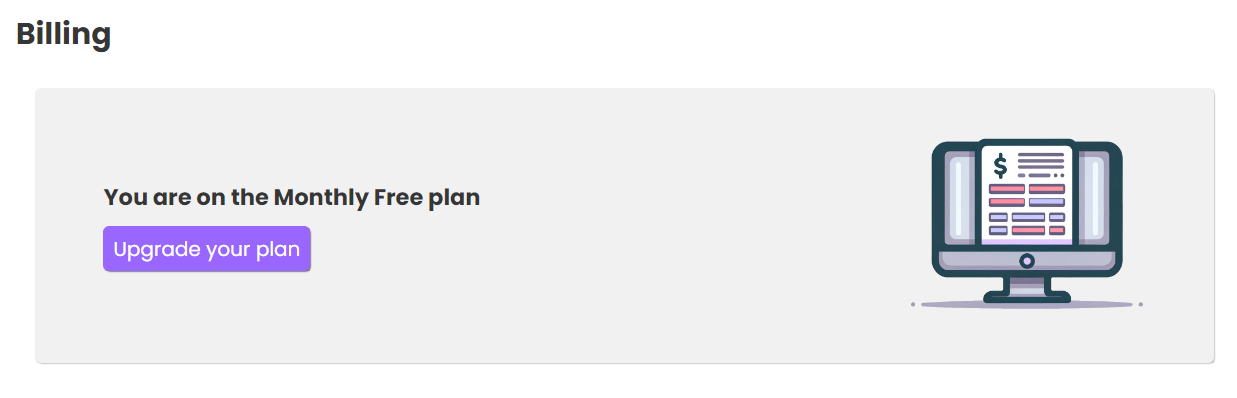
8. Decide on a plan
The info shown here is from our free plan, but you'll have access to the pro plan for 14 days with your trial! Head to our Pricing page for more info, and update your plan in Settings > Billing.